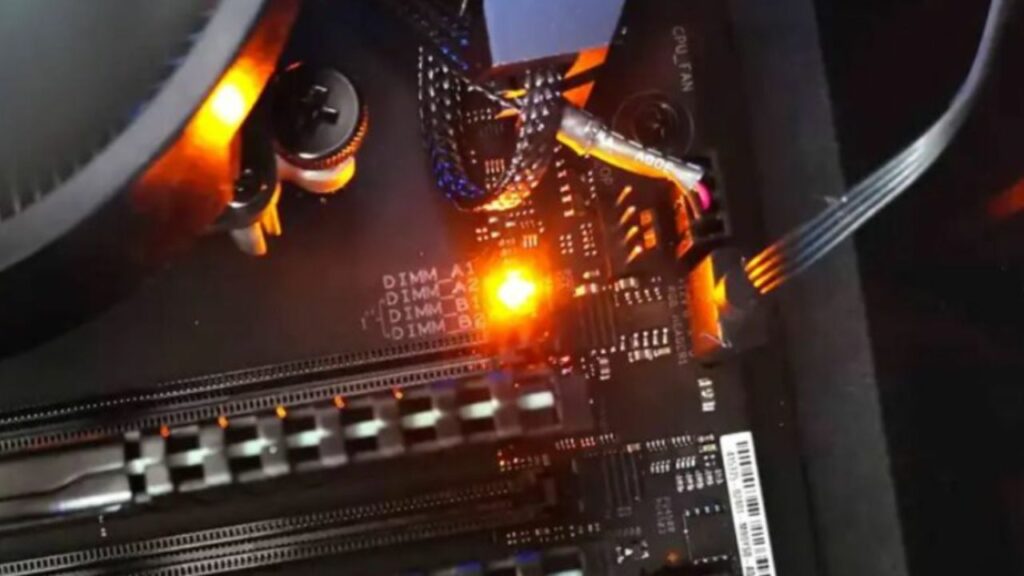
Have you ever noticed that the lights on your computer’s motherboard stay illuminated even after you’ve shut down your system? But why do your motherboard lights stay on after shutdown?
It can be quite perplexing, especially if you’re used to everything turning off when you power down your computer.
In this article, we’ll delve into why your motherboard lights may stay on after shutdown and what it means for the overall functionality of your system.
Power Supply and Standby Power
One of the primary culprits behind the persistent motherboard lights is the power supply unit (PSU). When you shut down your computer, the PSU continues to provide a small amount of power to the motherboard.
This feature is known as standby power or standby mode. It allows your system to quickly power back on when you press the power button, as certain components on the motherboard are constantly receiving power. Unplug Your Computer From The Power Supply.
Standby Power Components
To understand why your motherboard lights stay on, it helps to know which components receive power in standby mode.
Here are a few key components that are commonly powered:
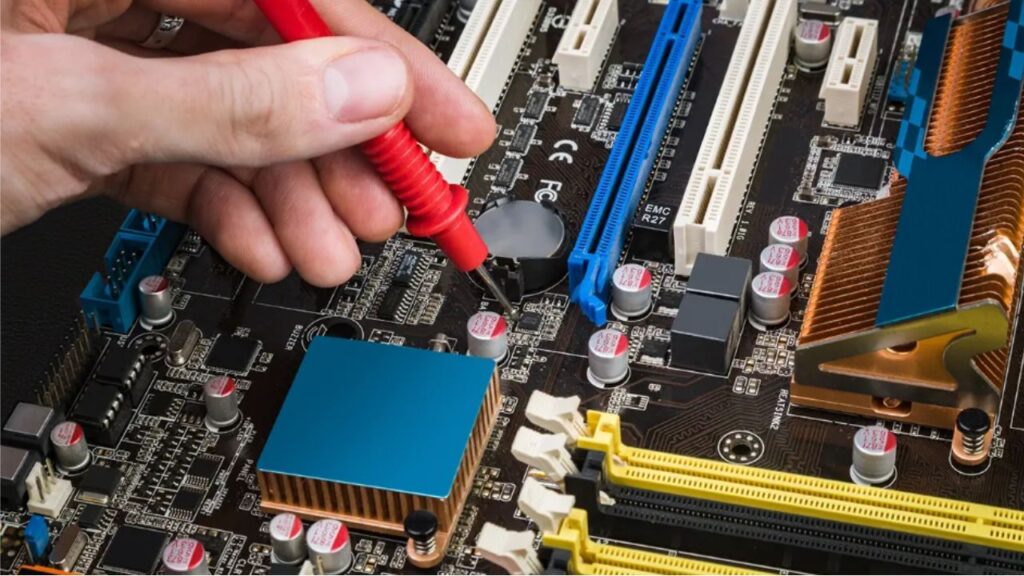
- RTC Battery: The Real-Time Clock (RTC) battery keeps track of time and maintains the system’s settings even when the computer is turned off. It requires a constant supply of power to retain its functionality.
- Power Button Circuit: As the name suggests, the power button circuit is always active to detect when you press the power button. This allows you to turn on your computer once it has shut down.
- Network Interface Card (NIC): Many motherboards provide power to the NIC to support features like Wake-on-LAN, where you can remotely wake up your computer using network commands.
- USB Ports: Some USB ports may remain powered in standby mode to facilitate the charging of devices or for peripheral devices that need continuous power, such as wireless keyboard receivers.
BIOS and Configuration Settings

Another reason your motherboard lights may stay on is due to certain settings within the computer’s Basic Input/Output System (BIOS).
The BIOS is firmware that initializes hardware components and establishes communication between the operating system and your computer’s hardware.
Wake-on Features
BIOS settings, particularly those related to “wake-on” features, can influence whether the motherboard lights stay on.
As mentioned earlier, Wake-on-LAN is one such feature that allows your computer to be remotely powered on.
This feature requires the motherboard to remain partially powered, including the illuminated lights.
USB Power Settings
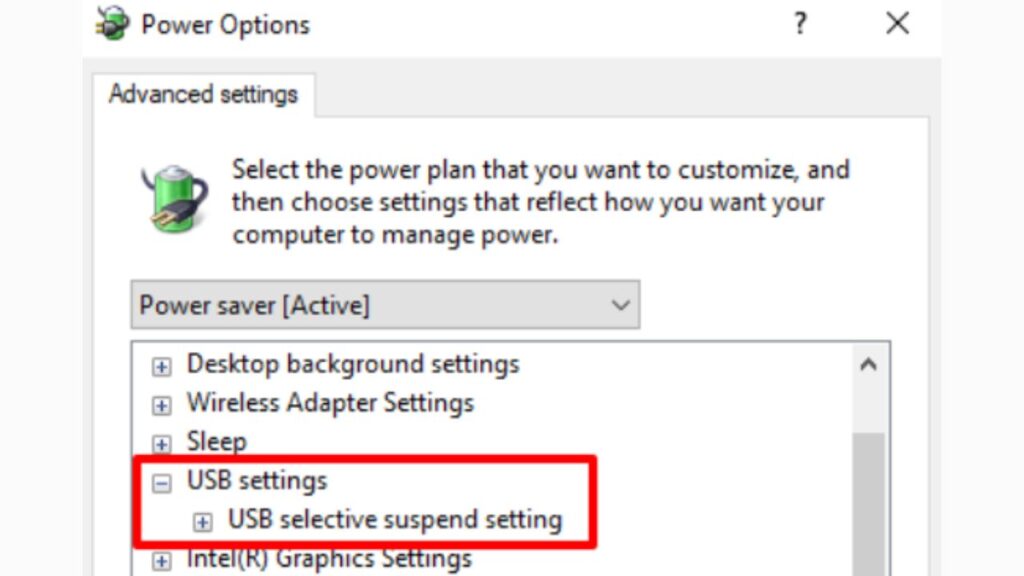
In some cases, the USB power settings in the BIOS might also keep the motherboard lights turned on.
Certain motherboards have an option to maintain power to USB ports even after shutdown, which can be useful for charging devices.
If this setting is enabled, the lights may persist.
Motherboard Design and LED Lighting
Beyond power supply and BIOS settings, your motherboard’s design and manufacturer-specific features can contribute to the lights staying on.
Aesthetics and Customization
Many modern motherboards come equipped with LED lighting that enhances the visual appeal of your computer.
These lights are often customizable through software provided by the motherboard manufacturer.
Depending on your customization settings, the lights may stay on to showcase your preferred color scheme or lighting pattern even when the system is shut down.
Faulty Design or Malfunction
Occasionally, the motherboard lights staying on after shutdown can indicate a design flaw or a malfunctioning component.
If you suspect this to be the case, it is advisable to consult the manufacturer’s support or seek assistance from a computer technician to diagnose and resolve the issue.
1. Disconnect Any Connected Devices From Your PC
When it comes to managing your personal computer, ensuring proper procedures for connecting and disconnecting devices is crucial to maintaining the health of your hardware and data.
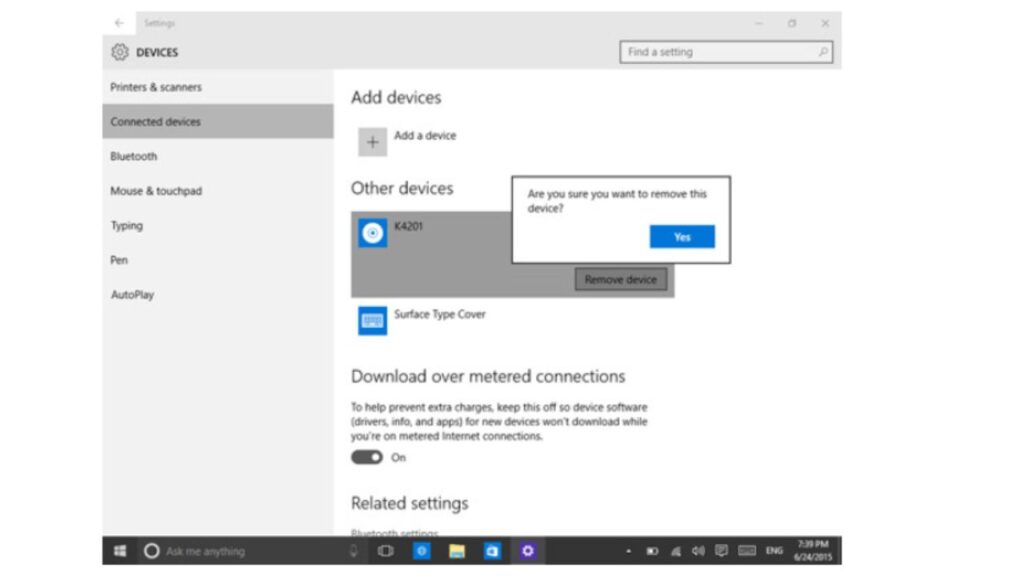
This guide will walk you through the essential steps to safely disconnect any connected devices from your PC.
- Save Your Work: Before disconnecting any devices, save your work and close any open applications. This helps prevent data loss and ensures a smooth transition when removing peripherals.
- Eject External Storage: If you have external storage devices like USB drives or external hard drives connected, always eject them before removal.
- Close Applications: Double-check that no applications are actively using devices like printers, scanners, or cameras.
- Use Unplug or Eject Option: Windows provides an ‘Eject’ option for many connected devices, even if they aren’t storage-related.
- USB Devices: For USB devices, it’s important to wait for the system to acknowledge the disconnection. Look for the notification that says “Safe to Remove Hardware.”
- Bluetooth Devices: When disconnecting Bluetooth devices, such as headphones or speakers, turn off the device or use the ‘Remove device’ option in the Bluetooth settings menu.
- Network Devices: If you’re disconnecting network-related devices like printers, be sure to power off the device or use its control panel to initiate the disconnection.
- Monitors and Projectors: When unplugging external displays, ensure your PC is set to use the internal display before disconnecting. This prevents potential resolution and display configuration problems.
- Gaming Consoles and Controllers: If you’re disconnecting gaming consoles or controllers, exit any running games and ensure the controller is properly disconnected from both the game and the PC.
- Follow Manufacturer Guidelines: Always consult the manufacturer’s guidelines for disconnecting devices. Some devices may have specific requirements for safe removal.
Prioritizing these procedures will contribute to the overall longevity and reliability of your computer setup.
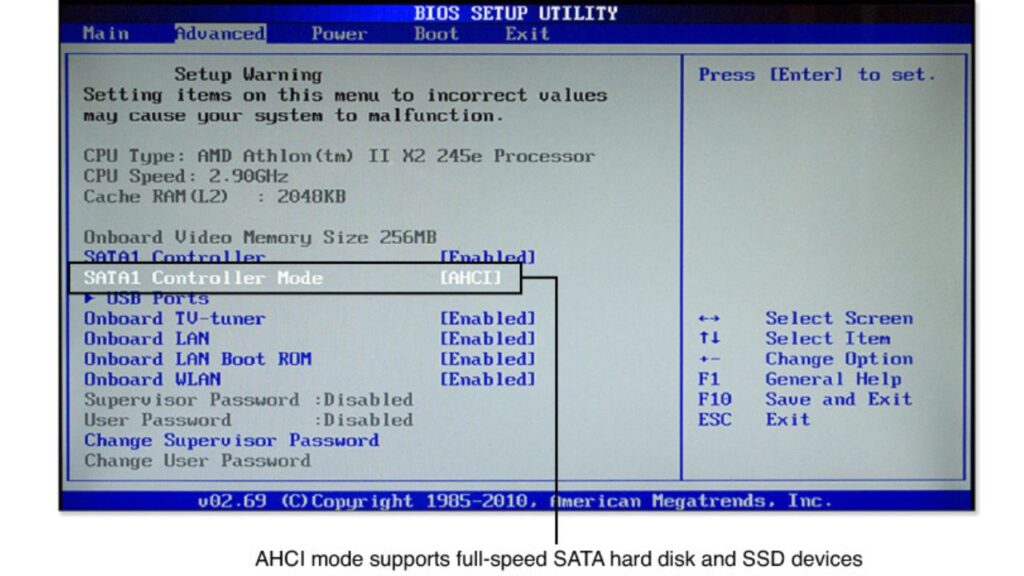
2. Navigating Your Device’s BIOS Settings for Optimal Performance
Adjusting your device’s Basic Input/Output System (BIOS) settings can significantly impact its performance, stability, and functionality.
This guide provides a clear overview of the steps involved in accessing and configuring your device’s BIOS settings to ensure it operates at its best.
- Understanding BIOS: The BIOS is a fundamental software that initializes hardware components when your computer starts.
- Accessing BIOS: Restart your device and look for the key to access the BIOS during startup. Common keys include F2, F10, Del, or Esc. Press the designated key before your operating system loads.
- BIOS Menu Navigation: Once inside the BIOS, use your keyboard to navigate. The BIOS interface might vary based on your device’s manufacturer, but it generally consists of menus and submenus.
- Backup BIOS Settings: Before making any changes, consider backing up your current BIOS settings.
- Performance Settings: BIOS settings can impact your device’s overall performance. Adjust settings like CPU clock speed, memory timings, and system voltages cautiously.
- Boot Order: Configure the boot order to prioritize the device from which you want to boot, such as your primary hard drive or a USB drive.
- Security Settings: Some BIOS versions offer security settings like passwords and secure boot.
- Hardware Configuration: BIOS settings allow you to enable or disable specific hardware components.
- Power Management: Adjust power-related settings, such as sleep modes and fan curves. Optimize these settings to balance performance and energy efficiency.
- Exit and Save Changes: After making adjustments, navigate to the exit menu. Choose the option to save changes and exit.
- Troubleshooting: If your device fails to boot after changing BIOS settings, don’t panic. Restart and enter the BIOS again.
- Manufacturer Resources: Different devices have varying BIOS interfaces.
Configuring your device’s BIOS settings requires careful consideration and knowledge of your hardware.
Can Motherboard Damage Be Repaired?
Having covered strategies to deactivate lingering motherboard lights post-shutdown and mastering effective troubleshooting for issues related to such lights, it’s time to address a pivotal inquiry: Can damaged motherboards be restored?
Indeed, the potential for repairing damaged motherboards hinges upon the severity of the impairment and the specific motherboard model at hand.
The spectrum of motherboard damage is broad, ranging from issues stemming from power surges and liquid exposure, which typically lie beyond the realm of restoration, to situations where rectification is within reach.
For instance, addressing concerns such as fractured or improperly secured components, malfunctioning power circuitry, or software-related glitches can often be accomplished.
Nonetheless, irrespective of the extent of the damage incurred, engaging the services of a proficient technician is an advisable approach. Collaborating with a skilled expert facilitates precise diagnosis of the motherboard’s affliction and the adept application of requisite repairs.
It’s worth noting that for less complex concerns, experimenting with straightforward remedies (as discussed earlier) might yield fruitful results. This is particularly applicable in cases of software-related hitches intertwined with the motherboard’s functionality.
To sum up, the feasibility of repairing motherboard damage rests upon the severity of the harm sustained and the characteristics of the motherboard itself. While some forms of damage may prove insurmountable due to the extent of the impairment, more manageable issues can indeed be effectively rectified.
Prioritizing consultation with a qualified technician ensures meticulous evaluation and proficient resolution, safeguarding the optimal performance of the motherboard.
Additionally, exploring basic solutions (as mentioned previously) can be considered, particularly when contending with software-related challenges associated with the motherboard’s operations.
Conclusion:
Although it can be disconcerting to see your motherboard lights staying on after shutting down your computer, it is often a normal behavior due to standby power, and motherboard design.
Understanding the components that remain powered and the customization options available can help alleviate any concerns. However, suppose you suspect a hardware issue or the lights stay on indefinitely.
In that case, it is recommended to seek professional assistance to ensure your computer system’s optimal performance and longevity.
Remember, next time you power down your system and notice those glowing lights, it’s all part of the intricate workings of your motherboard! Comment here.