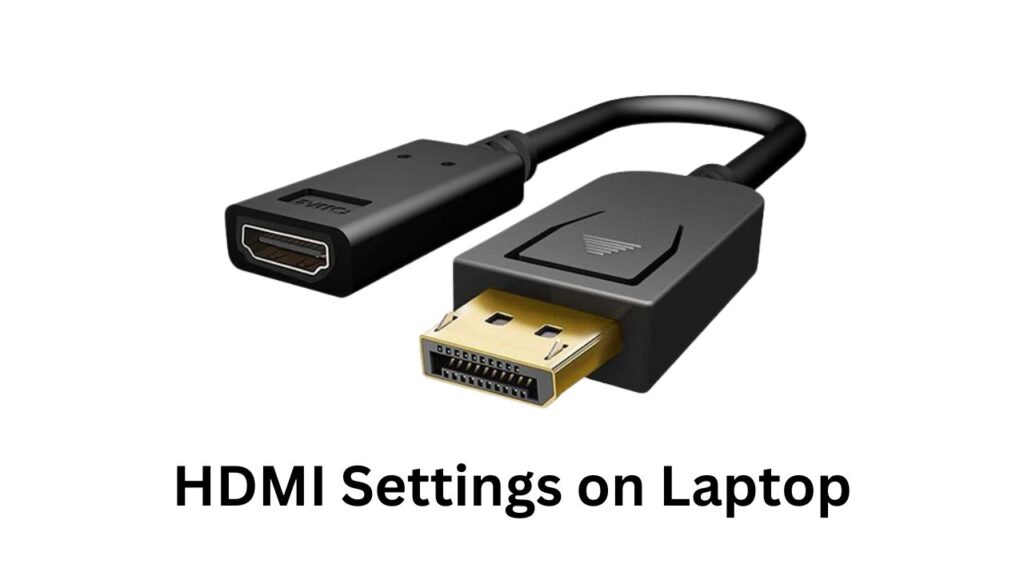
In the ever-evolving world of technology, the HDMI (High-Definition Multimedia Interface) has become a ubiquitous feature connecting our digital devices.
Ah, the humble HDMI cable. It’s the unsung hero of our digital lives, seamlessly connecting our laptops to TVs, monitors, and projectors. But what happens when things get wonky?
When your laptop screen refuses to cooperate with your external display? Fear not, intrepid tech adventurer!
This blog post is your map to navigating the sometimes-murky world of HDMI settings on your laptop.
Understanding HDMI:
HDMI is a standard interface that transmits both high-definition audio and video signals through a single cable.
Laptops are equipped with HDMI ports to facilitate connections with external displays, TVs, projectors, and other compatible devices.
To harness HDMI’s full potential, it’s crucial to explore and configure the settings on your laptop.
Step 1: The Hardware Hookup
Before we discuss software settings, let’s ensure the physical connection is secure. Locate the HDMI port on your laptop and TV/monitor/projector.
They’re usually slender rectangular ports, often labeled “HDMI” or with the HDMI logo (a tiny handshake icon). Gently but firmly plug in the HDMI cable, ensuring it’s snug.
Step 2: Waking Up the Display
Now, the software fun begins! The exact and best steps will vary depending on your operating system, but the general flow is similar.
Here’s a Windows 10 walkthrough:
- Right-click anywhere on your desktop and select “Display settings.”
- You’ll see a screen with your laptop display and any detected external displays.
- If your external display isn’t detected, click “Detect” and wait a few seconds.
- Once detected, click the “Identify” button. A number will appear on your external display, confirming it’s the right one.
Step 3: Mirror, Mirror, on the Wall
Now comes the fun part: choosing how your laptop screen and external display interact.
Windows 10 offers three main options:
- Duplicate these displays: This essentially clones your laptop screen onto the external display, giving you the same picture on both. Great for presentations or sharing a movie with a friend.
- Extend these displays: This creates a larger virtual desktop, allowing you to drag windows and applications between your laptop screen and the external display. Perfect for multitasking or spreading out your work.
- Show desktop only on 2 (external display): This turns off your laptop screen and uses only the external display. Ideal for connecting to a TV or projector.
You can right-click on your preferred option from the “Multiple displays” dropdown menu in Display settings.
Step 4: Resolution Revelations
Your external display might not look its best right away. That’s because the resolution (the number of pixels) might need to be optimized.
Click on the “Display” identified as your external display and play around with the “Resolution” dropdown menu.
Choose the resolution that matches your display’s native resolution for the sharpest picture.
Conclusion:
Understanding and optimizing HDMI settings on your laptop can transform your multimedia experience, unlocking the full potential of high-definition visuals and immersive audio.
Whether you’re delivering a professional presentation, gaming with friends, or enjoying a movie night, a little configuration can go a long way in maximizing the capabilities of your laptop’s HDMI connection.
So, dive into the settings, experiment with configurations, and elevate your digital experience to new heights. Comment here.

