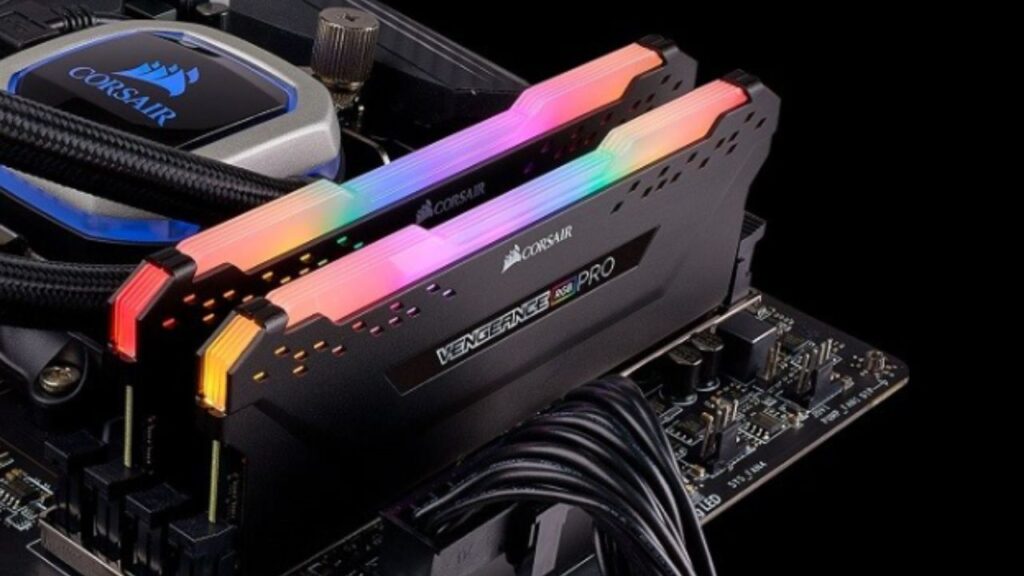
XMP, or Extreme Memory Profile, is a standard developed by Intel that allows users to overclock their RAM. But, how to enable XMP MSI? It is a simple and safe way to get the most out of your RAM, and it can result in significant performance improvements, especially in gaming and other demanding applications.
To enable XMP, you will need to enter your computer’s BIOS or UEFI. Do take note that Intel develops the XMP technology and, hence, is largely supported on Intel motherboards. At the same time, the AMD processors support DOCP (Direct Over Clock Profile).
But before you jump in to get the best performance from your RAM, you must understand what it does exactly, how safe it is, and do you need it.
In this guide, we will walk you through the process of enabling XMP to unlock the full potential of your RAM, resulting in smoother multitasking, faster application load times, and improved gaming performance.
What is XMP?
Extreme Memory Profile (XMP) is an Intel technology that allows your RAM to run at its rated or even higher speed, beyond the default settings defined by the JEDEC standard.
JEDEC (Joint Electron Device Engineering Council) sets standard clock speeds and timings for memory modules, but many RAM kits are capable of higher performance if configured correctly.
XMP profiles are pre-configured settings that make it easy for users to overclock their RAM without manually tweaking the settings.
To enable XMP to improve RAM speed, follow these steps:
- Restart your computer and enter the BIOS. The key to enter the BIOS varies depending on your motherboard manufacturer, but it is usually one of the following: Delete, F1, F2, F10, or F12.
- Find the XMP settings. This is usually located in the overclocking section of the BIOS.
- Enable the XMP settings. This may involve selecting a profile from a drop-down menu.
- Save your changes and reboot your computer.
Once your computer has rebooted, your RAM will be running at its XMP speed. You can verify this by opening Task Manager and checking the Memory tab. The speed listed under “Speed” should be the same as the XMP speed listed on your RAM’s packaging.
Enabling XMP: A Step-by-Step Guide
- Check Your Motherboard Compatibility: The first step is to ensure that your motherboard supports XMP. Most modern motherboards, both Intel and AMD platforms, support XMP. Check your motherboard’s manual or the manufacturer’s website to confirm compatibility.
- Update BIOS/UEFI: Before enabling XMP, it’s a good practice to update your motherboard’s BIOS/UEFI to the latest version.
- Enter BIOS/UEFI: To access your motherboard’s BIOS or UEFI settings, you need to restart your computer and press the appropriate key during the boot process. This key varies by motherboard but is commonly Delete, F2, or F12. Consult your motherboard’s manual or the splash screen during boot for the correct key.
- Locate the XMP Option: Once in the BIOS/UEFI, navigate to the overclocking or advanced settings section. Look for a setting related to XMP. It may also be labeled as “Memory Profile,” “Memory Frequency,” or something similar, depending on your motherboard.
- Select the XMP Profile: In the XMP settings, you will typically find a list of profiles, usually labeled as XMP 1 and XMP 2. Select the profile that corresponds to the desired RAM speed. Profiles might differ depending on your RAM kit, but you’ll typically see options like 3200MHz, 3600MHz, or even higher.
- Save and Exit: After selecting the desired XMP profile, save your settings and exit the BIOS/UEFI. This action will reboot your computer with the new memory settings applied.
- Stability Testing: After enabling XMP, it’s advisable to run stability tests to ensure that your system can handle the new RAM settings without crashing or experiencing errors. You can use software like MemTest86 or Windows Memory Diagnostic to check for memory-related issues.
- Enjoy the Boost: Once you’ve verified that your system is stable, you can start enjoying the improved performance that XMP provides. You’ll notice faster load times, smoother multitasking, and better gaming performance.
Here are some tips for enabling XMP:
- Ensure that your RAM modules are properly seated in their slots. Incorrectly installed RAM can cause stability issues.
- If you encounter stability problems, consider lowering the RAM speed slightly or increasing the DRAM voltage within the recommended safe limits.
- Keep an eye on your system’s temperatures and make sure they stay within safe levels. Overclocking can generate more heat, so having adequate cooling is crucial.
Once you have enabled XMP, you should test your system for stability. You can do this by running a stress test program, such as Prime95 or MemTest86.
If your system crashes during the stress test, then you will need to reduce the XMP settings or disable XMP altogether.
Overall, enabling XMP is a safe and easy way to get the most out of your RAM. If your motherboard and RAM support XMP, then I recommend enabling it for the best possible performance.
Conclusion:
Enabling XMP is a straightforward way to unlock the full potential of your RAM and significantly improve your computer’s performance.
By following the steps outlined in this guide, you can enjoy faster load times, smoother multitasking, and enhanced gaming experiences without the need for extensive manual overclocking.
So, if you’re looking to squeeze every bit of performance from your PC, don’t hesitate to enable XMP and watch your system soar to new heights. Comment here.
For more article visit – peoplelaptop

