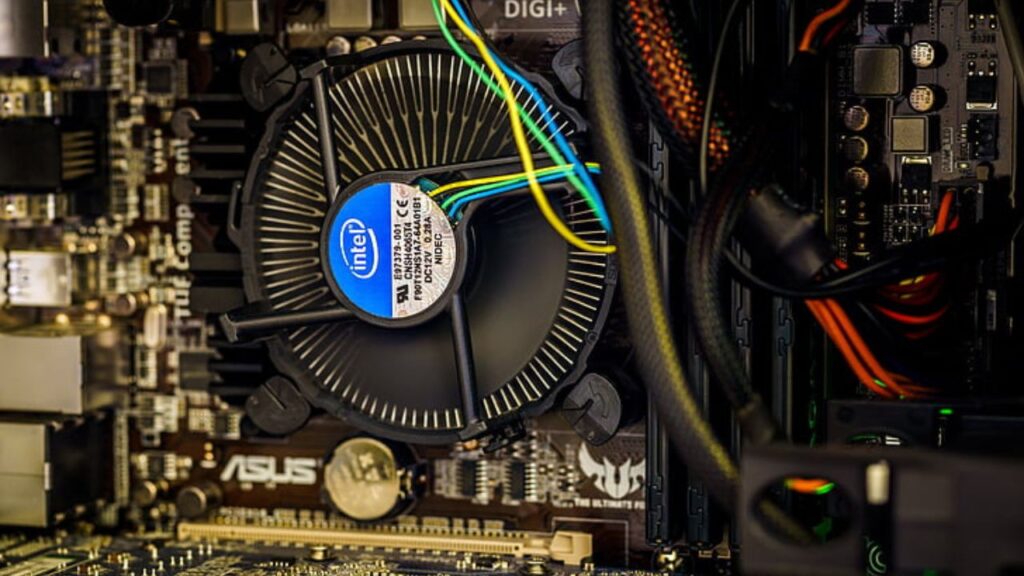
There’s a chance you’ll see this error notice after installing a new fan on your Asus motherboard. But, how to fix CPU fan errors in the Asus motherboard? The obstacle of operating the fan will likely arise because it won’t appear on your dashboard. How would you address this problem?
The problem is still the same with older fans that may stop functioning for various reasons; some of these causes include improper installation of the CPU fan, a malfunctioning CPU fan, and possibly incompatible RPM.
Why Does My BIOS Consistently Report a CPU Fan Error?
There are a few reasons your BIOS might display a CPU fan error. The most common sense is that the CPU fan needs to be correctly connected to the motherboard. If the fan is not adequately secured, it will not be able to spin and cannot cool the CPU.
The CPU fan not being compatible with the motherboard is another frequent cause of this error. If the fan is not consistent, it will be unable to spin and cannot cool the CPU.
Another reason your BIOS might display a CPU fan error is that the CPU is overheating. It will shut down if the CPU gets too hot to prevent damage.
It’s critical to assess the airflow in your case and confirm that the CPU fan is mounted correctly to blow air across the heatsink if the CPU is overheating.
Also, ensure that you have adequate case cooling and that the CPU is not overclocked. The fan may fail if you are still getting a CPU fan error. If the fan is failing, it will need to be replaced.
How can I Turn Off the CPU Fan Failure Warning?
There is no surefire way to turn off the CPU fan failure warning. However, there are a few things that you can try. One is to turn off the CPU fan in the BIOS settings. Another is to use a software program to control the fan speed.
How can a CPU Fan Error be Fixed?
There are a few ways to fix a CPU fan error. The most common way is to clean the fan and ensure it is debris-free. Another way is to replace the fan entirely.
The BIOS settings you recently modified could be the reason why the Asus fan problem is occurring.
Whatever the reason, there is a solution that will allow your fan to resume operating at its peak efficiency. This guide will review some of the best techniques to fix this error.
The details are described below:
Reinstall the CPU Fan
The fan error message you’re receiving concerns your fan not being correctly installed on your motherboard. You may experience “Fan Post Error” messages on your screen due to this issue from time to time.
Start by reinstalling your CPU fan; this option almost always works like a charm and will soon have your CPU fans operating normally again. You don’t need to worry about anything; access your installation settings, and you’re ready.
Additionally, check that all your CPU’s screws and pins are in standard locations. A screw that is either missing or improperly placed can make it challenging to maintain a low CPU fan.
We have an extensive list of additional options you can try if this one doesn’t appear to give you the desired results. Keep the shots going, then.
Check Your Equipment
Your CPU Fan error notice could be caused by a single disconnected wire or a screw you neglected to tighten. How could you have needed to arrange the necessary details? There is no need to be concerned because everyone experiences days when they fail to do vital tasks.
Therefore, evaluate your hardware to determine if any missing pieces need to be fixed to get it all working correctly. Instances where dust or carbon has entered your hardware and prevented the fan from operating call for routine maintenance.
Occasionally, your CPU fan’s power connectors contain carbon or dust. To clear the connectors of dust, use a compressed air can.
Manually Adjust Your Fan RPM
Even if you install a fan from a different manufacturer, your BIOS won’t recognize it, preventing your fan from operating. On your screen, the CPU fan issue warning will keep appearing. When this occurs, you have a lifeline you can use.
Look for “CPU FAN Speed Low Limit” in your BIOS. If your fan is not an Asus default brand, change the value to 200 RPM because the default value for this is typically 600 RPM. AFTER DOING THIS, your CPU fan will resume operating at its highest level, and you will undoubtedly be good to go.
We have backup plans in case this doesn’t work.
Turn off the CPU Fan Speed in the BIOS
Asus CPU fan speed error detected. This excellent alternative works for everyone to restart their CPU fan. The list is incomplete because there may be some exceptions to this. Here’s how to access your BIOS and fix CPU fan errors once and for all.
Change the CPU fan speed by going to BIOS, advanced settings, and then looking for the monitor part.
Numerous similar factors frequently contribute to the occurrence of this inaccuracy. These include a CPU fan that is not properly connected, insufficient fan revolutions per minute (RPM), an outdated BIOS, or a defective fan/motherboard.
To resolve this issue effectively, you can take the following steps: Make sure that the fan is correctly connected to the appropriate headers, ensure that the fan RPM is within the recommended range, and keep your BIOS up to date.
Update Your BIOS
The unfortunate reality here is the risk you run when your fans aren’t operating, and simple upgrades can cause your CPU fan not to work. Heat can make your working processes ineffective when your fans stop working. Your computer may also blink.
If your BIOS is outdated, updating it will put you back in good hands. It could be the case if you use an earlier BIOS version. You’ll return to business once your computer is operating at peak performance. Start your CPU fans again and look for updates.
Ensure the CPU Fan is Connected Properly
The CPU fan header on Asus and Megatrends motherboards either needs to be connected to something or is plugged into the incorrect connector, which causes this fan problem.
- .Please ensure that the CPU FAN is mounted on the motherboard in the proper location and tighten the screws.
- If the fan speed issue still appears while utilizing a water cooler, such as the H100i or H100i V2, connect the hydro pump to the AIO PUMP header rather than the CHA FAN header.
- .Ensure the CPU FAN cable is firmly connected to the CPU FAN connector rather than the CHA FAN connector.
Set CPU Fan Speed Lower Limit
Does the CPU fan spin at the necessary RPM? The Asus fan error usually warns that the fan’s RPM is not operating optimally.
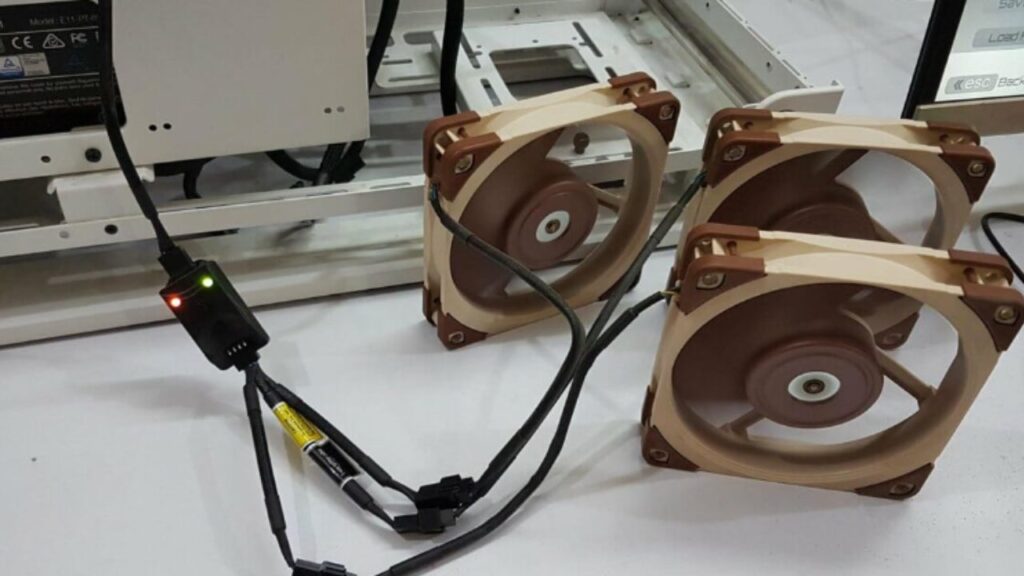
Users who utilize NZXT and Corsair fans with slower revolution speeds run the risk of the system failing to recognize them correctly.
- Set the “CPU Fan Speed Low Limit” in the BIOS settings to 200 RPM.
- Take the following actions to modify the lower fan speed limit:
- Hit the Delete, F1, or F10 keys at startup to enter BIOS.
- Go to Advanced Settings and find the CPU fan settings. (The model of your motherboard may change this part.
- Locate the setting that manages the CPU fan RPM notifications. 600 RPM should be set as the default (Revolutions Per Minute).
- Reduce the default speed from 300 to 450 RPM and save the adjustments.
- Boot the system after exiting the BIOS.
Clean the CPU Fan
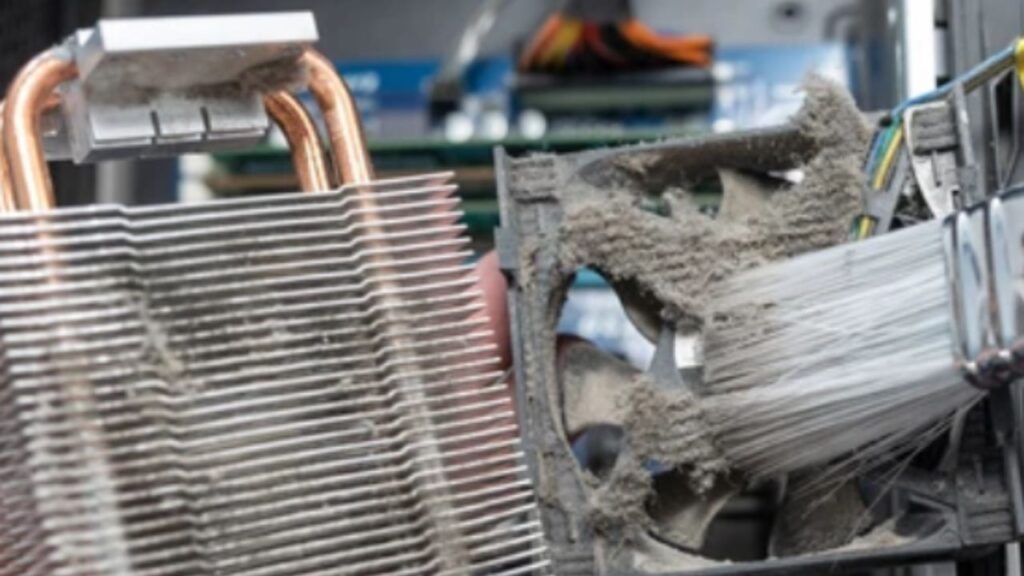
Hardware used in computers is harmed by dust. Dust accumulation prevents the fins from rotating at their superior speed.
The CPU fans need to be cleaned frequently. Then, use a can of compressed air to remove the dust after turning off the computer and unplugging the power cord.
Attempt a Different CPU Fan Header
If one fan header fails, modern motherboards feature additional titles. Change the fan’s slot and see if it helps. It can occasionally resolve the CPU fan issue.
The Bottom Line
The methods listed above will enable you to resolve the CPU Fan Error. If the issue persists, a defective motherboard connector or CPU cooling may be blamed.
You may swap out your old cooler for a high-quality CPU cooler, which is a reasonably simple procedure. Take your PC to a nearby repair shop if the motherboard is the issue.
How to Fix CPU Fan Error on Boot?
Many people who use Corsair or NZXT Kraken AIO CPU coolers attach the incorrect fan header to the motherboard. The motherboard will, therefore, notice this issue. Incorrect BIOS settings are another cause of the CPU fan problem at boot.
- Check your CPU Fan’s Settings in the BIOS
- Reduce The Default Fan Speed in the BIOS
- Disable CPU Fan Error for ASUS in BIOS
- Check your Fan Connectors on the Motherboard
- Update the BIOS
- Try an Alternate CPU Fan Header
- Run Software Troubleshooting
- Bonus Tip to fix American Megatrends CPU Fan Error
- Replace CPU Fan
How do You Ignore CPU Fan Errors?
There isn’t a way to “ignore” CPU fan errors, but you can try a few things to fix it. Make sure that the CPU fan is plugged in correctly and that it is receiving power.
Additionally, make sure the fan is spinning. If it is, try cleaning it with compressed air. If the fan is still not working, you may need to replace it.
Another thing you can try is to change the BIOS settings so that the CPU fan runs at a manageable speed all the time. It can help prolong the fan’s life and reduce its noise. If none work, you may need to replace the CPU fan.
Conclusion:
Minor issues like CPU fan difficulties may be caused by a bad motherboard connector or CPU cooler. You want your computer to function correctly once more.
Thus, getting it to work once more is what you need. Here are many methods to help you achieve this goal and resume operating at your peak performance.
The methods I just gave you will work to fix the CPU fan error. A defective CPU cooler or motherboard connector might be to blame if the error occurs.
It is relatively simple to replace your CPU cooler; swap out your old cooler for a higher-quality model.
Read More – >>> ASUS vs Gigabyte Motherboards
See Here:
FAQ:
How do I Fix a Loud Computer Fan?
To address a noisy computer fan, thoroughly clean the fan components. Next, check the Task Manager for apps using a lot of resources that are affecting CPU utilization, then take action to keep your computer from overheating.
How do I Control my CPU Fan Speed?
Regulating the speed of your CPU fan is achievable through either manufacturer-provided software or your PC’s BIOS. It’s crucial to avoid setting the fan speed to ‘0’, as this action could potentially lead to CPU overheating.
Why do I Get a CPU Fan Issue when it’s Still Spinning?
In cases where the fan is operational, yet an error persists, it’s possible that either the fan itself is encountering a problem or your computer has not yet recognized the resolution of the error.