Upgrading your graphics card is an exciting venture that can significantly enhance your computer’s performance and open up a world of possibilities for gaming, content creation, and more.
Whether you’re a seasoned tech enthusiast or a novice, installing a new graphics card can be a straightforward process with the right guidance.
Putting a new graphics card is a relatively simple process, but it’s important to take your time and do it right.
In this step-by-step guide, we’ll walk you through the process of installing a new graphics card, from preparation to completion.
How to install your new GPU
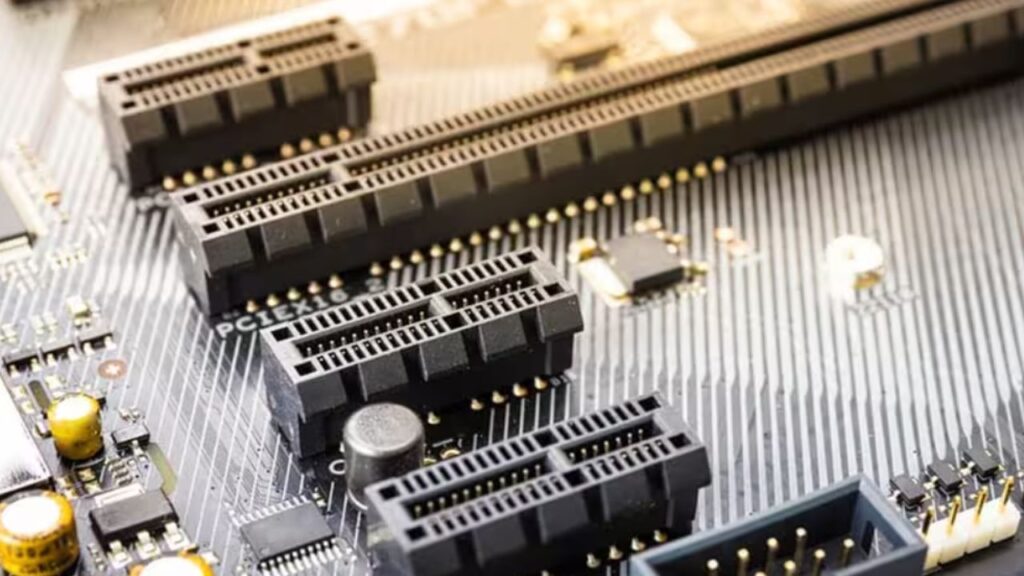
Installing a new GPU primarily revolves around the computer case and the PCIe slot on the motherboard. The majority of GPUs available today are linked to the PC through this PCIe slot.
While a motherboard might feature multiple slots, the recommended choice is typically the first (x16) slot, known for having the highest available bandwidth.
Shorter x4 slots are suitable for other expansion cards, such as Wi-Fi cards, while secondary x16 slots are typically reserved for extra GPUs or expansion cards.
Here’s a step-by-step guide on how to install a new graphics card for a PC:
1. Gather Your Necessary Tools.
You’ll need a Phillips head screwdriver, some compressed air, and a clean, dry workspace.
2. Check Compatibility:
Before diving into the installation process, it’s crucial to ensure that your new graphics card is compatible with your system. Check your computer’s specifications, including the available PCIe slot, power supply unit (PSU) wattage, and physical dimensions to confirm Compatibility.
3. Power down your PC and unplug it from the wall.
It’s important to be safe when working with electronics, so always make sure your PC is off and unplugged before you start.
4. Open your PC case.
Most cases have two side panels that you can remove by unscrewing them. Once the panels are off, locate the PCIe slots. These are long, narrow slots on the motherboard that are used for installing expansion cards like graphics cards.
5. Remove your old graphics card (if you have one).
If you’re replacing an old graphics card, you’ll need to remove it first. There will be a retention bracket holding it in place. You can usually unlock the bracket by pushing on a small tab. Once the bracket is unlocked, gently pull the card out of the slot.
6. Prepare your new graphics card.
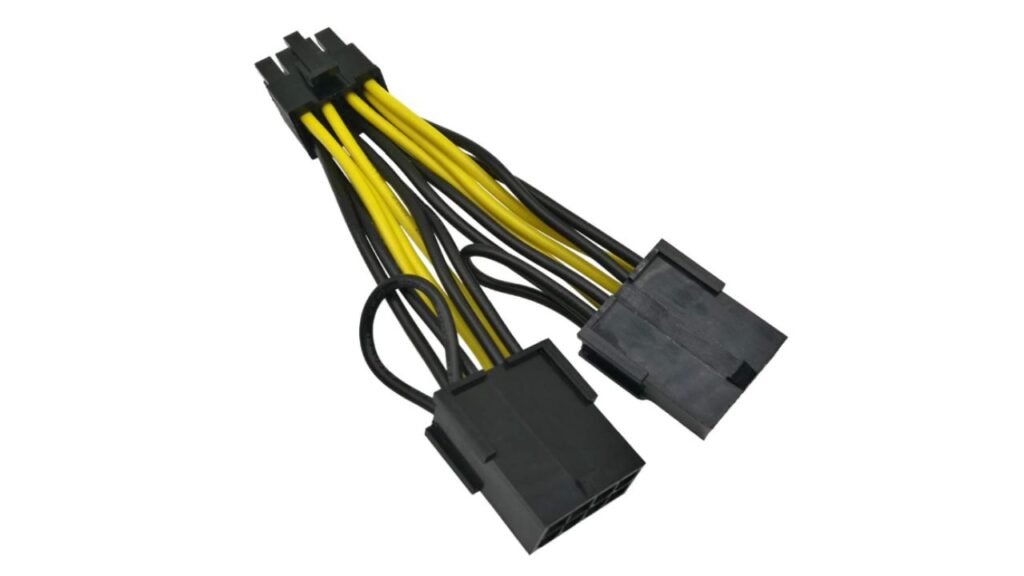
Carefully remove your new graphics card from its packaging. Please don’t touch the gold contacts on the card, as this can damage them. If your card has any power connectors, go ahead and connect them now. These are usually 6-pin or 8-pin PCIe connectors.
7. Install your new graphics card.
Line up the gold contacts on the card with the slot and gently push it in until it’s seated. You should hear a click when it locks into place. Secure the card with the screws that you removed earlier.
8. Connect the power cables.
If you haven’t already, connect the power cables to your new graphics card. Make sure that the cables are plugged in all the way.
9. Close your PC case and plug it back in.
Once everything is plugged in, put your PC case back on and screw it shut. Plug your PC back in and turn it on.
10. Install drivers.
The final step is to install the drivers for your new graphics card. You can usually download these from the manufacturer’s website. Once the drivers are installed, you’re good to go!
Here are some additional tips for installing a new graphics card:
- If you’re having trouble getting your graphics card to seat properly, make sure that there are no obstructions in the way, such as cables or other cards.
- Be careful not to overtighten the screws when securing your graphics card. This can damage the card or the motherboard.
- If you need more time to get comfortable working on your PC yourself, you can always take it to a computer repair shop and have them install the card for you.
Conclusion:
Congratulations! You’ve successfully installed a new graphics card and unlocked the full potential of your computer.
With the right tools and careful attention to detail, upgrading your graphics card can be a rewarding experience that brings improved performance and an enhanced computing experience. Enjoy your upgraded system! Comment here.