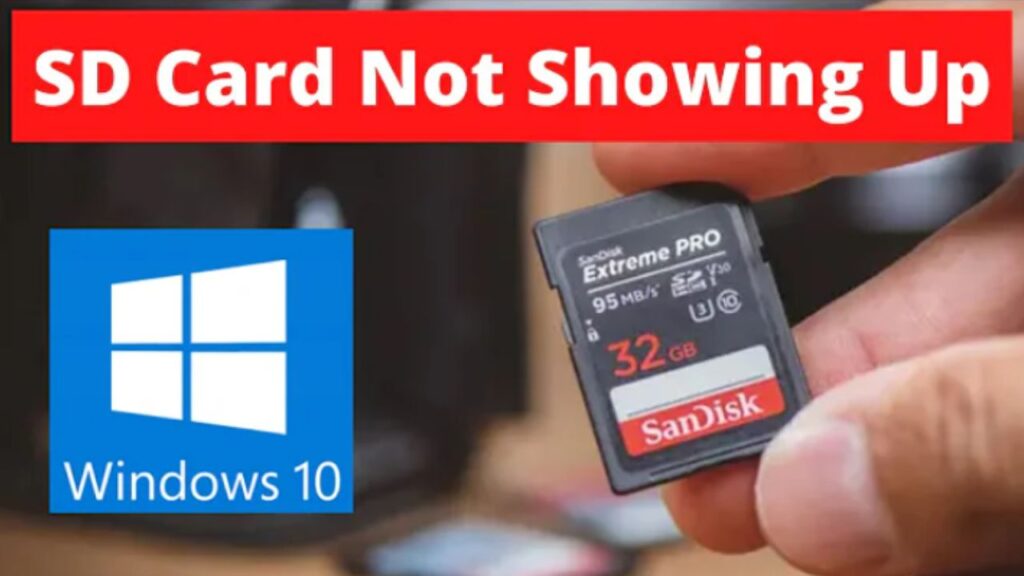
Windows 10 provides a user-friendly environment for accessing and managing external storage devices, including SD cards.
Whether you want to transfer files, back up data, or view the contents of your SD card, Windows 10 makes it a seamless process.
In this guide, we’ll walk you through the steps to access your SD card on a Windows 10 laptop.
How to Fix SD Card Not Showing Up Windows 11/10
Encountering difficulties with your SD card not showing up on Windows 11 or 10 can be perplexing. If your system fails to detect the SD card or if it doesn’t appear as a removable disk, finding a solution becomes essential.
This article provides a set of troubleshooting steps to help you address the problem and explore various avenues to ensure proper recognition of your memory card by the computer.
Steps to Open an SD Card on Windows 11, 10, 8, or 7:
Check Hardware Connections: Confirm that the SD card is correctly inserted into the card reader. If using an external card reader, ensure a secure connection to a USB port.
Try Another USB Port or Card Reader:
Test different USB ports or employ an alternative card reader to rule out potential issues.
Restart Your Computer: Perform a system restart to resolve common connectivity issues and check if the SD card is detected afterward.
Update Drivers: Address outdated or incompatible drivers by right-clicking on the Start button, navigating to “Device Manager,” locating the SD card reader under “Disk drives,” and selecting “Update driver.” Follow the on-screen instructions.
Check for Windows Updates: Ensure your Windows operating system is up-to-date by accessing Settings > Update & Security > Windows Update and clicking “Check for updates.”
Enable SD Card Reader in Device Manager: In Device Manager, locate the SD card reader, right-click, and choose “Enable” to re-enable the device if accidentally disabled.
Assign a Drive Letter: Access Disk Management by right-clicking on the Start button, locating your SD card, right-clicking on it, and choosing “Change Drive Letter and Paths.” Assign a new drive letter to facilitate recognition.
Explore these solutions systematically to resolve issues with SD card readers on Windows 11/10 or address problems where Windows fails to read the SD card. Implement each fixes one by one until you identify the solution that resolves your specific situation.
Step 1: Insert the SD Card
The first step is to insert your SD card into the laptop’s built-in card reader or an external card reader connected to a USB port. Ensure that the card is properly inserted to avoid any potential connection issues.
Step 2: Open File Explorer
Once the SD card is inserted, open File Explorer. You can do this by clicking on the folder icon in the taskbar or pressing the Windows key + E on your keyboard.
Step 3: Locate the SD Card
In the left-hand sidebar of File Explorer, you should see a list of drives and devices. Look for your SD card under the “Devices and drives” section. It is usually labeled with the assigned drive letter (e.g., D: E: F:).
Step 4: Access the SD Card
Double-click on the SD card’s drive letter to access its contents. You will now see all the files and folders stored on the SD card. From here, you can copy, move, delete, or perform any other file management operations.
Step 5: Safely Eject the SD Card
After you’ve finished working with the SD card, it’s crucial to safely eject it to prevent data corruption. Right-click on the SD card’s drive letter in File Explorer and select “Eject.” Wait for the confirmation message before physically removing the card from the laptop.
Additional Tips:
- Troubleshooting Connectivity Issues: If the SD card is not recognized, try reinserting it or using a different USB port. Check if the card reader drivers are up-to-date. You can do it by right-clicking the Start button, selecting “Device Manager,” and looking for the card reader under “Disk drives.”
- Formatting the SD Card: If the SD card is new or needs to be formatted, right-click on its drive letter and select “Format.” Follow the on-screen instructions to choose the file system and perform the format.
- Using External Card Readers: If your laptop doesn’t have a built-in card reader, you can use an external card reader connected via USB. The steps for accessing the SD card remain the same.
Conclusion:
Accessing an SD card on a Windows 10 laptop is a straightforward process that involves a few simple steps. By following this guide, you can efficiently manage your files, transfer data, and ensure a seamless interaction with your external storage.
Whether you’re a casual user or a professional, Windows 10 provides the tools you need to make the most out of your SD card.
FAQ:
What is an SD card?
An SD card is a compact and portable storage device designed for storing digital information. Commonly employed in digital cameras, mobile phones, and various electronic devices, an SD card serves as an additional data storage solution. Utilizing a flash memory chip, the SD card is inserted into the respective device, offering an extra storage option for users.
How do I access an SD card on Windows 10?
To access an SD card on Windows 10, begin by inserting the card into the designated card reader device. Once inserted, your computer should promptly identify the card, allowing you to open it by double-clicking on the corresponding drive letter within the file explorer window. Subsequently, you can browse, modify, and duplicate files stored on the SD card.

